Back to overview
Explore Pollinator Pathmaker, the living artwork and participatory project by Alexandra Daisy Ginsberg.
Create your own Edition
— Alexandra Daisy Ginsberg
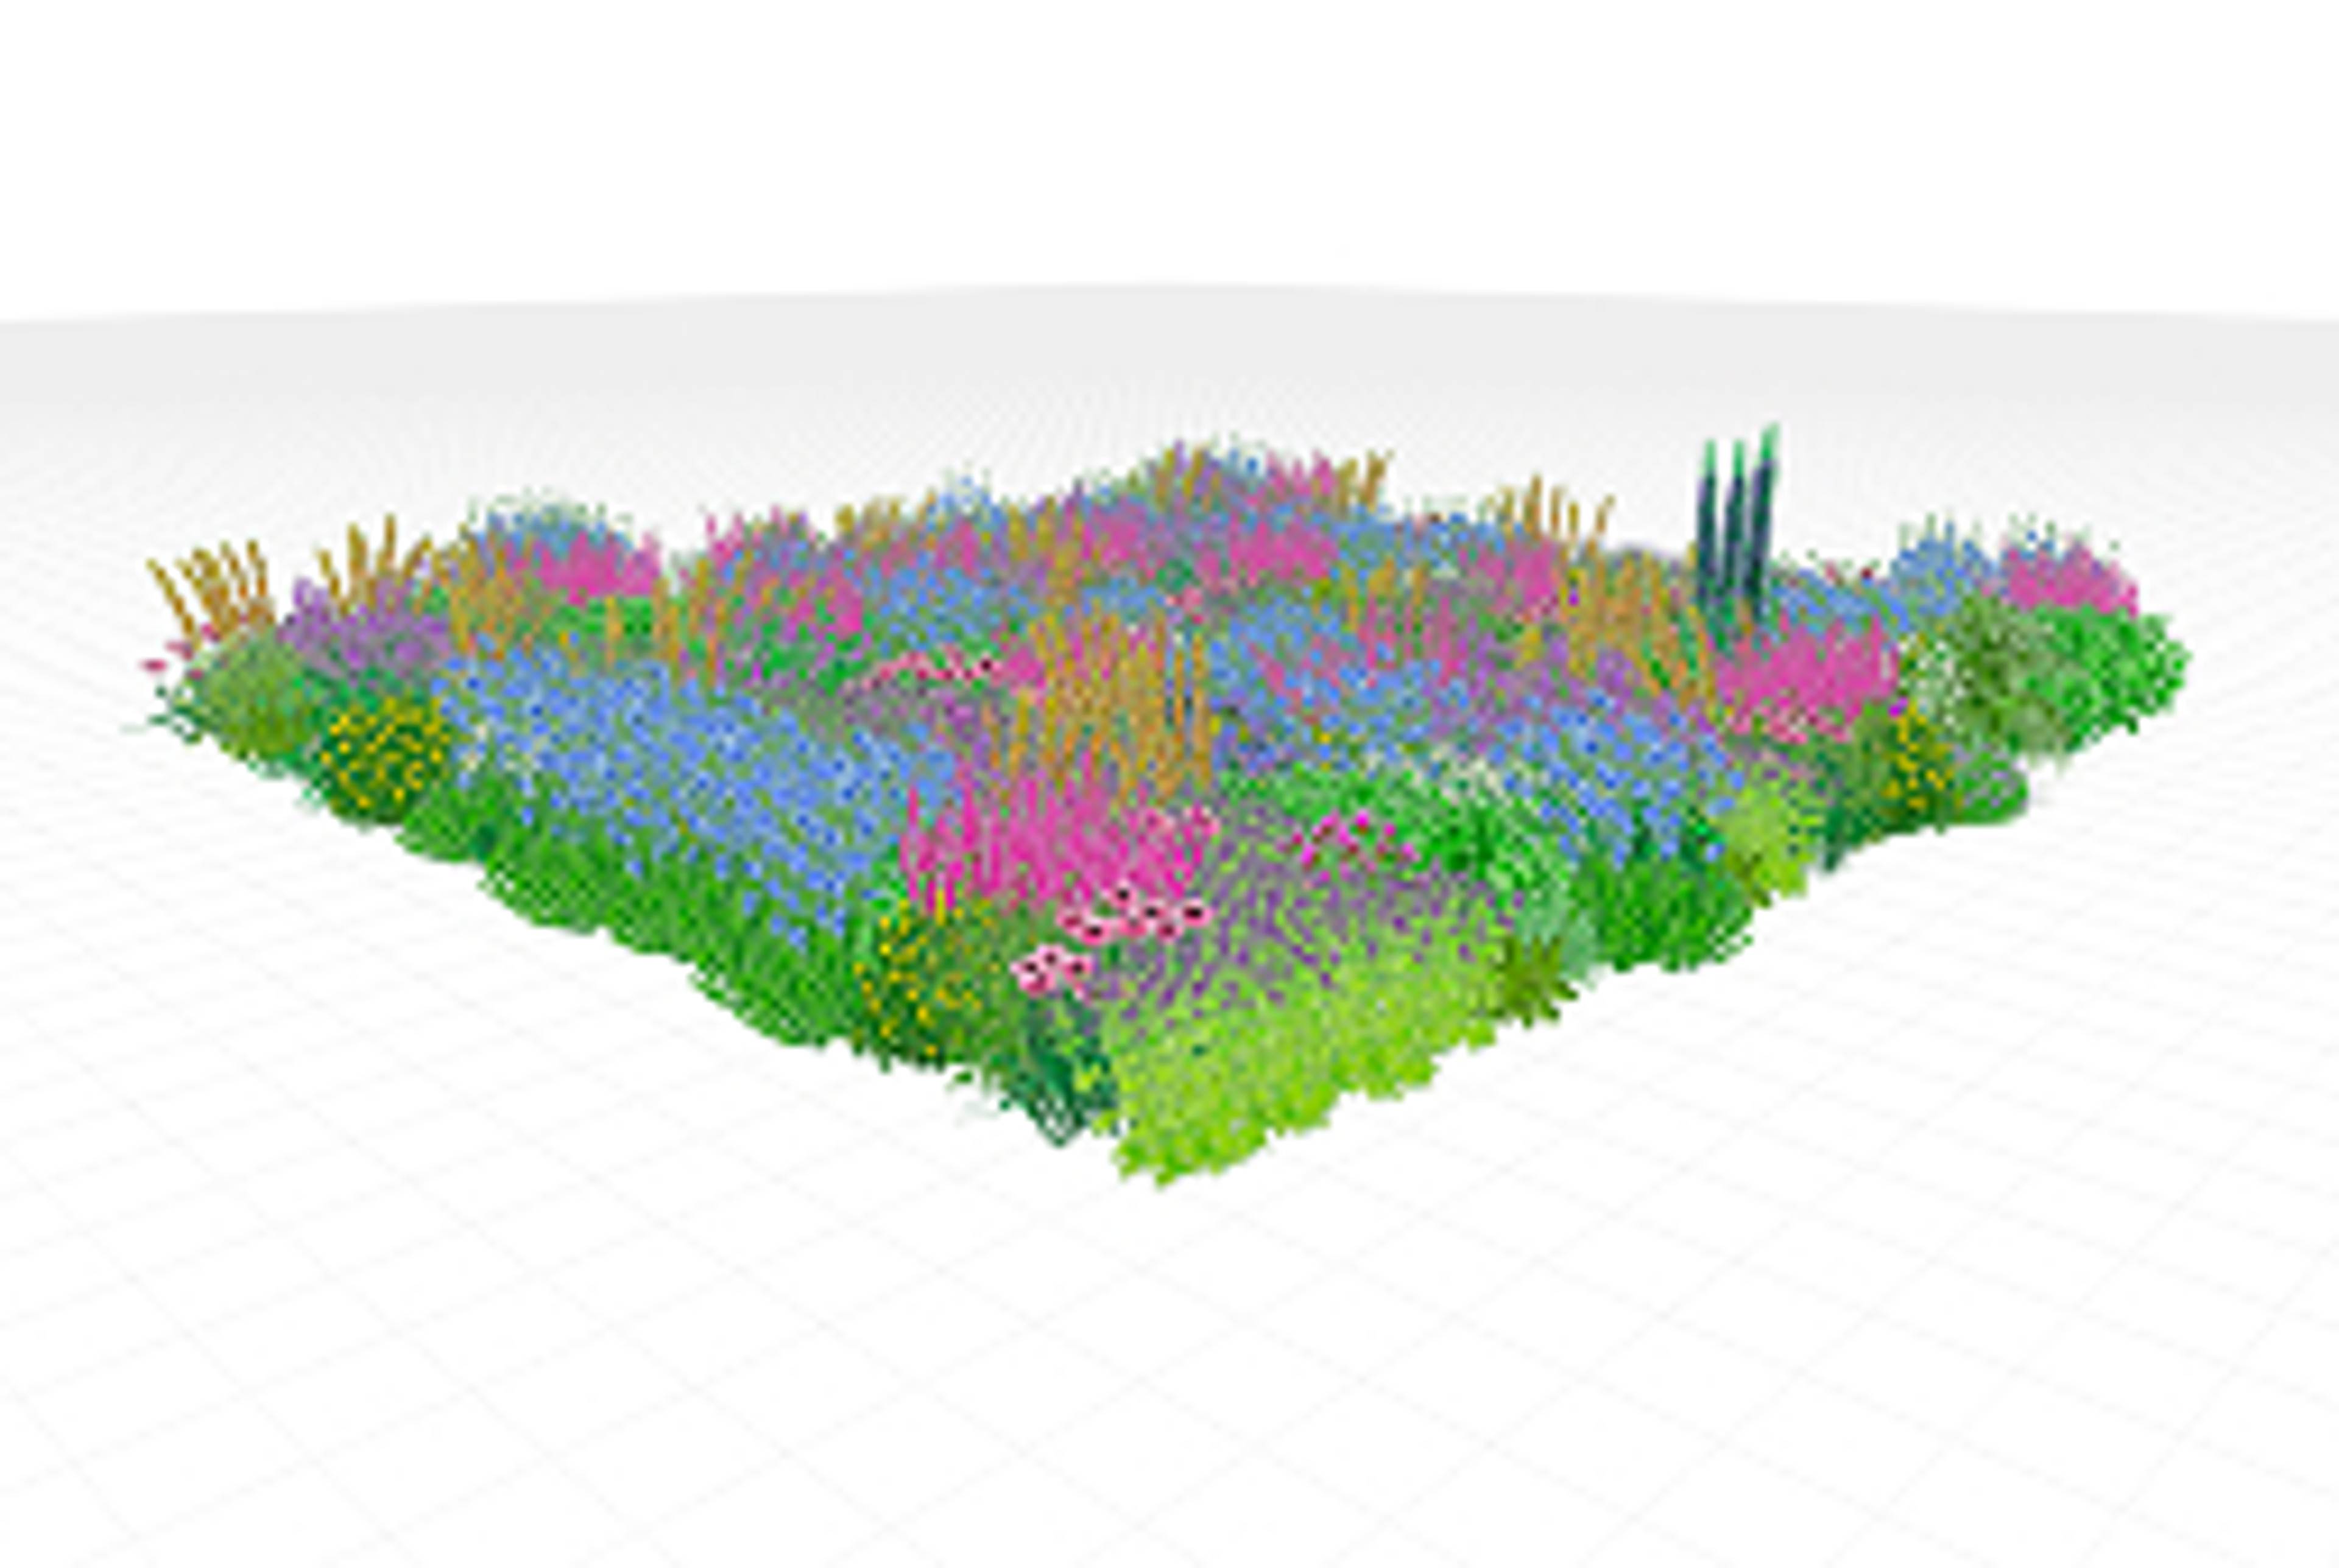
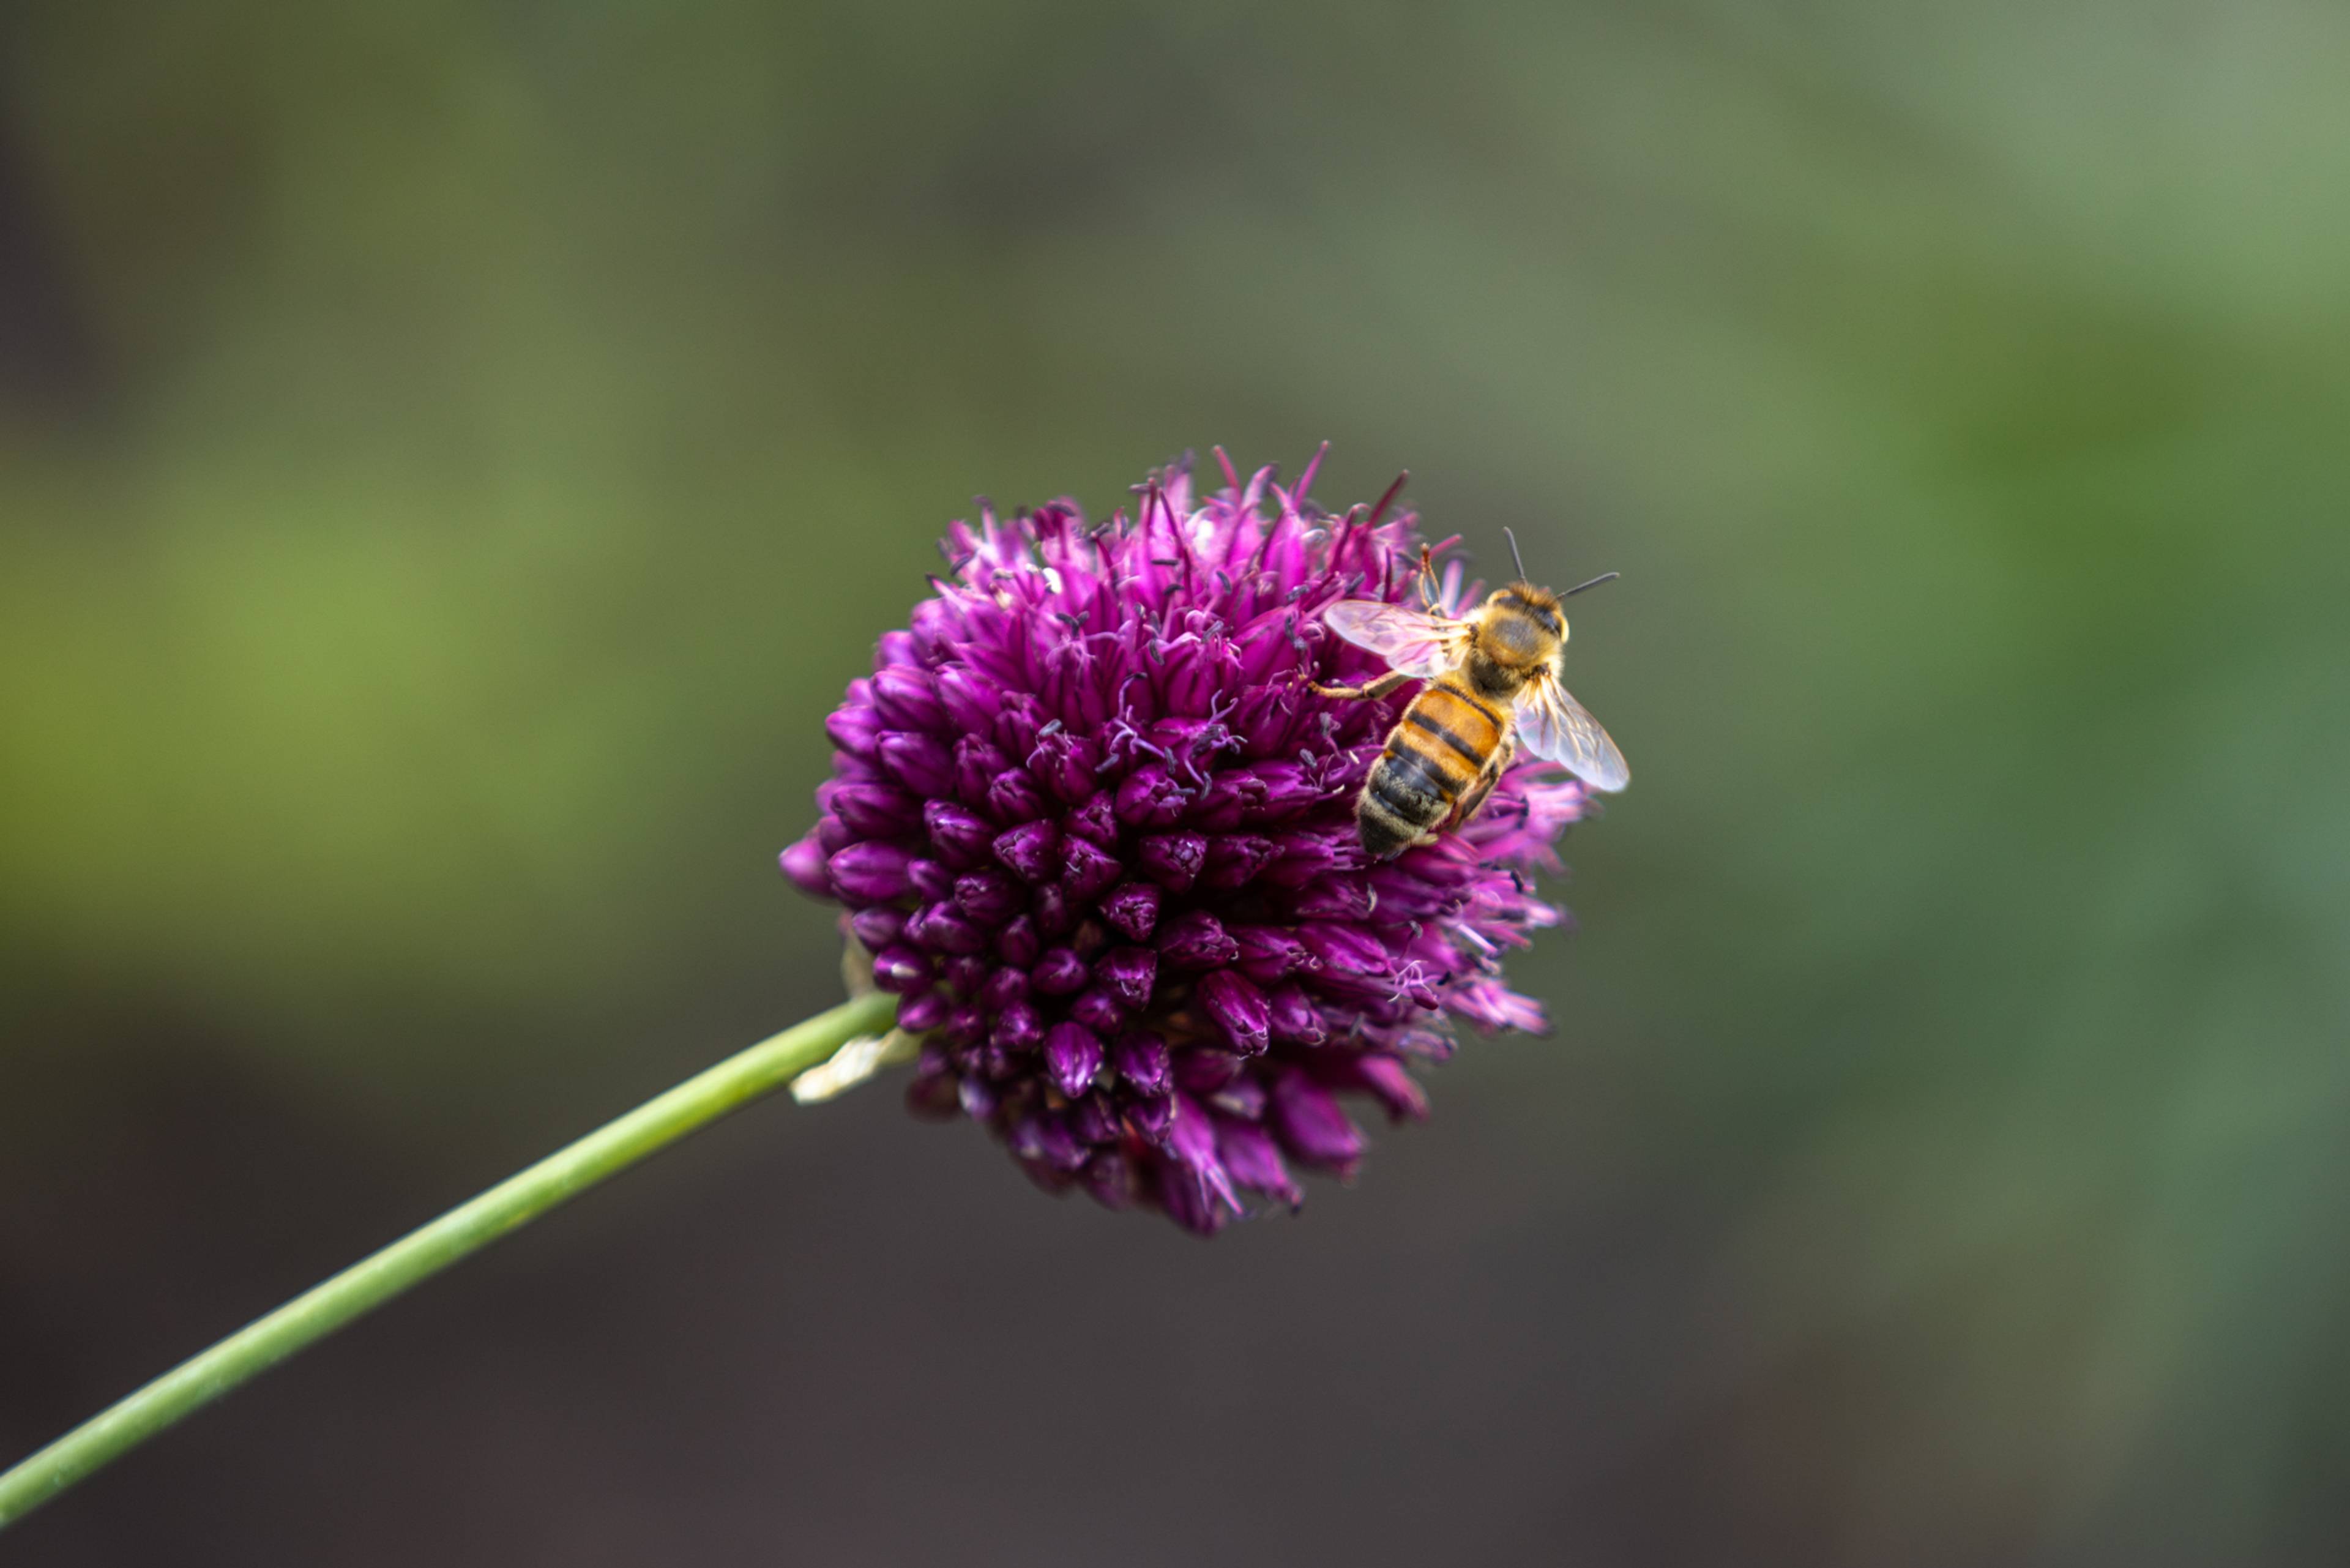
At the heart of Pollinator Pathmaker lies a participatory campaign to support pollinators by planting art. Alexandra Daisy Ginsberg made the planting tool freely available at pollinator.art, allowing anyone to create their own Edition of the artwork at home or in public space.
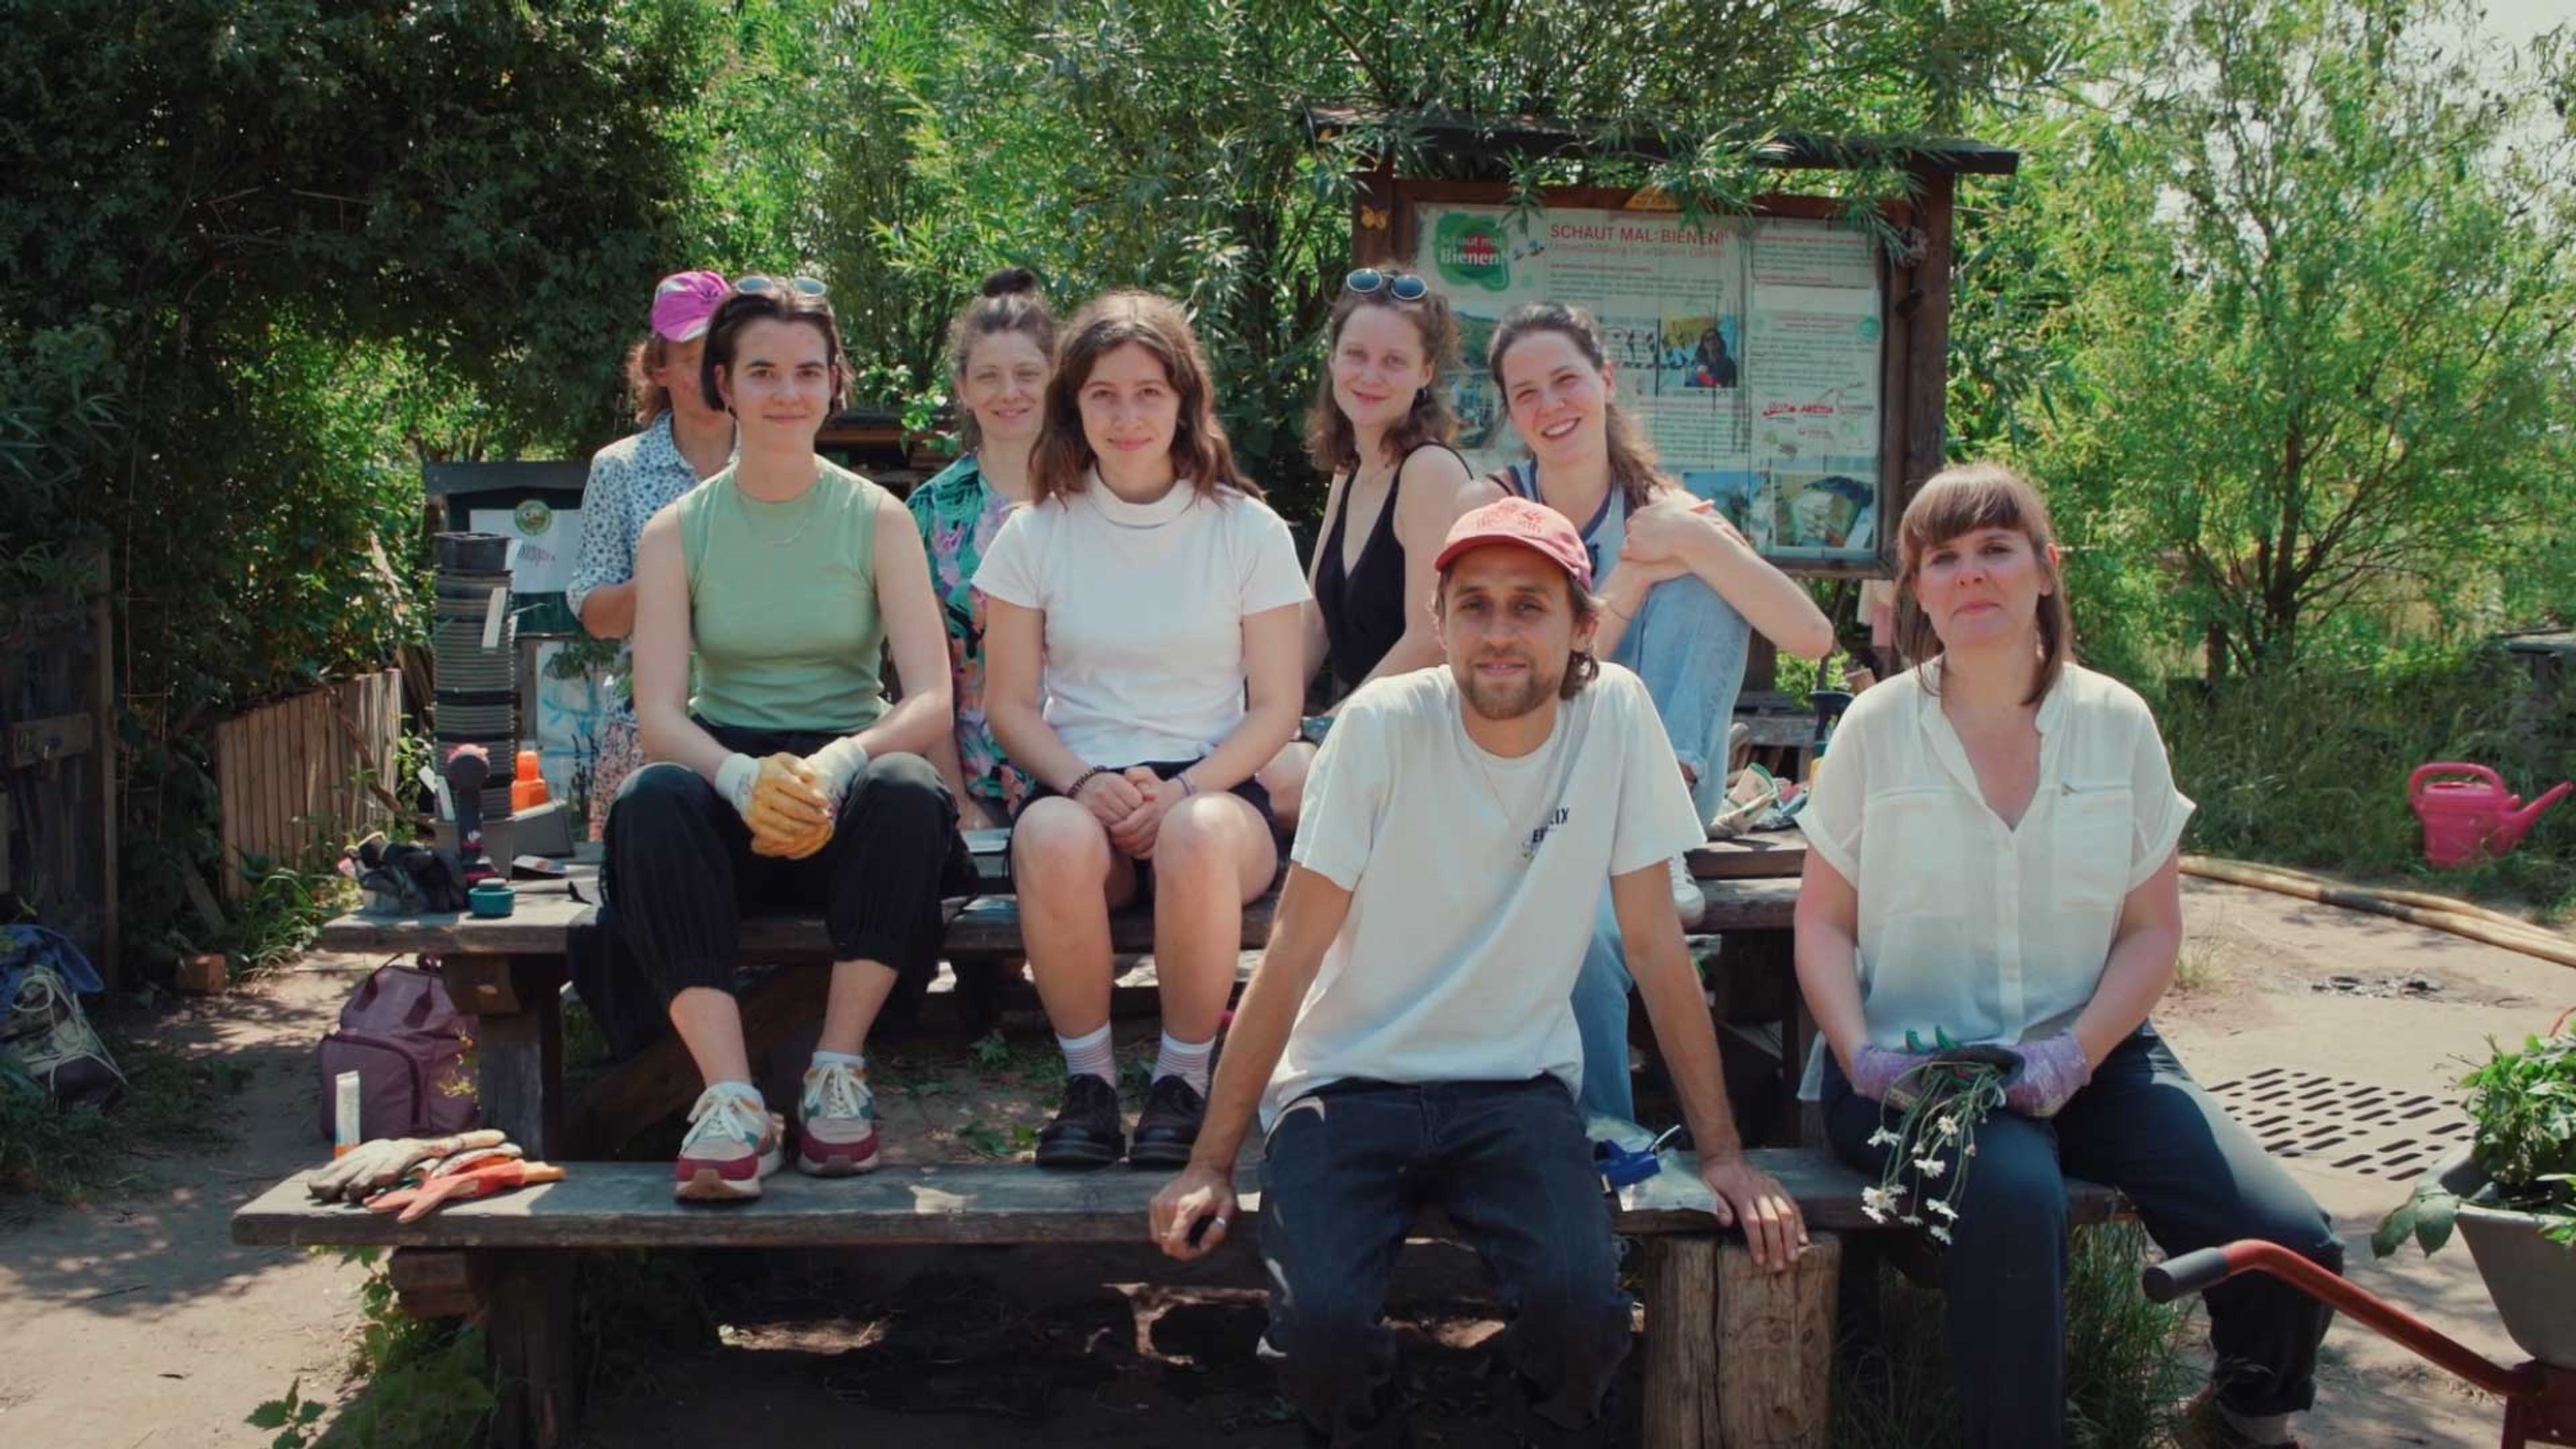
Pollinator biodiversity can be supported by creating many small habitats, allowing insects to move between them. When bringing Pollinator Pathmaker to Berlin, LAS set out to support garden communities, residents, schools, and kindergartens in planting DIY Editions of the artwork in every district of the city.
Thanks to their engaged participation, Pollinator Pathmaker has grown into a city-wide network: Schule an der Jungfernheide, Grüner Campus Malchow, residents of Gleimviertel, Allmende Kontor Tempelhofer Feld, MenschenskinderGarten, Quartiersmanagement Badstraße with residents of Eulerplatz, Emmy-Noether-Gymnasium, Schul-Umwelt-Zentrum Mitte, Kita zur Heimat, Stephanus-Kita, residents of Wilhelmstraße, residents of Fritschestraße, Quartiersmanagement Thermometersiedlung with Begegnungsort „Alte Eiche“, Lucys Garten, Waldgarten Berlin-Britz e.V., Schülerzentrum Kraftwerk Verbund e.V., Gemeinschaftsgarten „Bürgergarten Helle Oase“
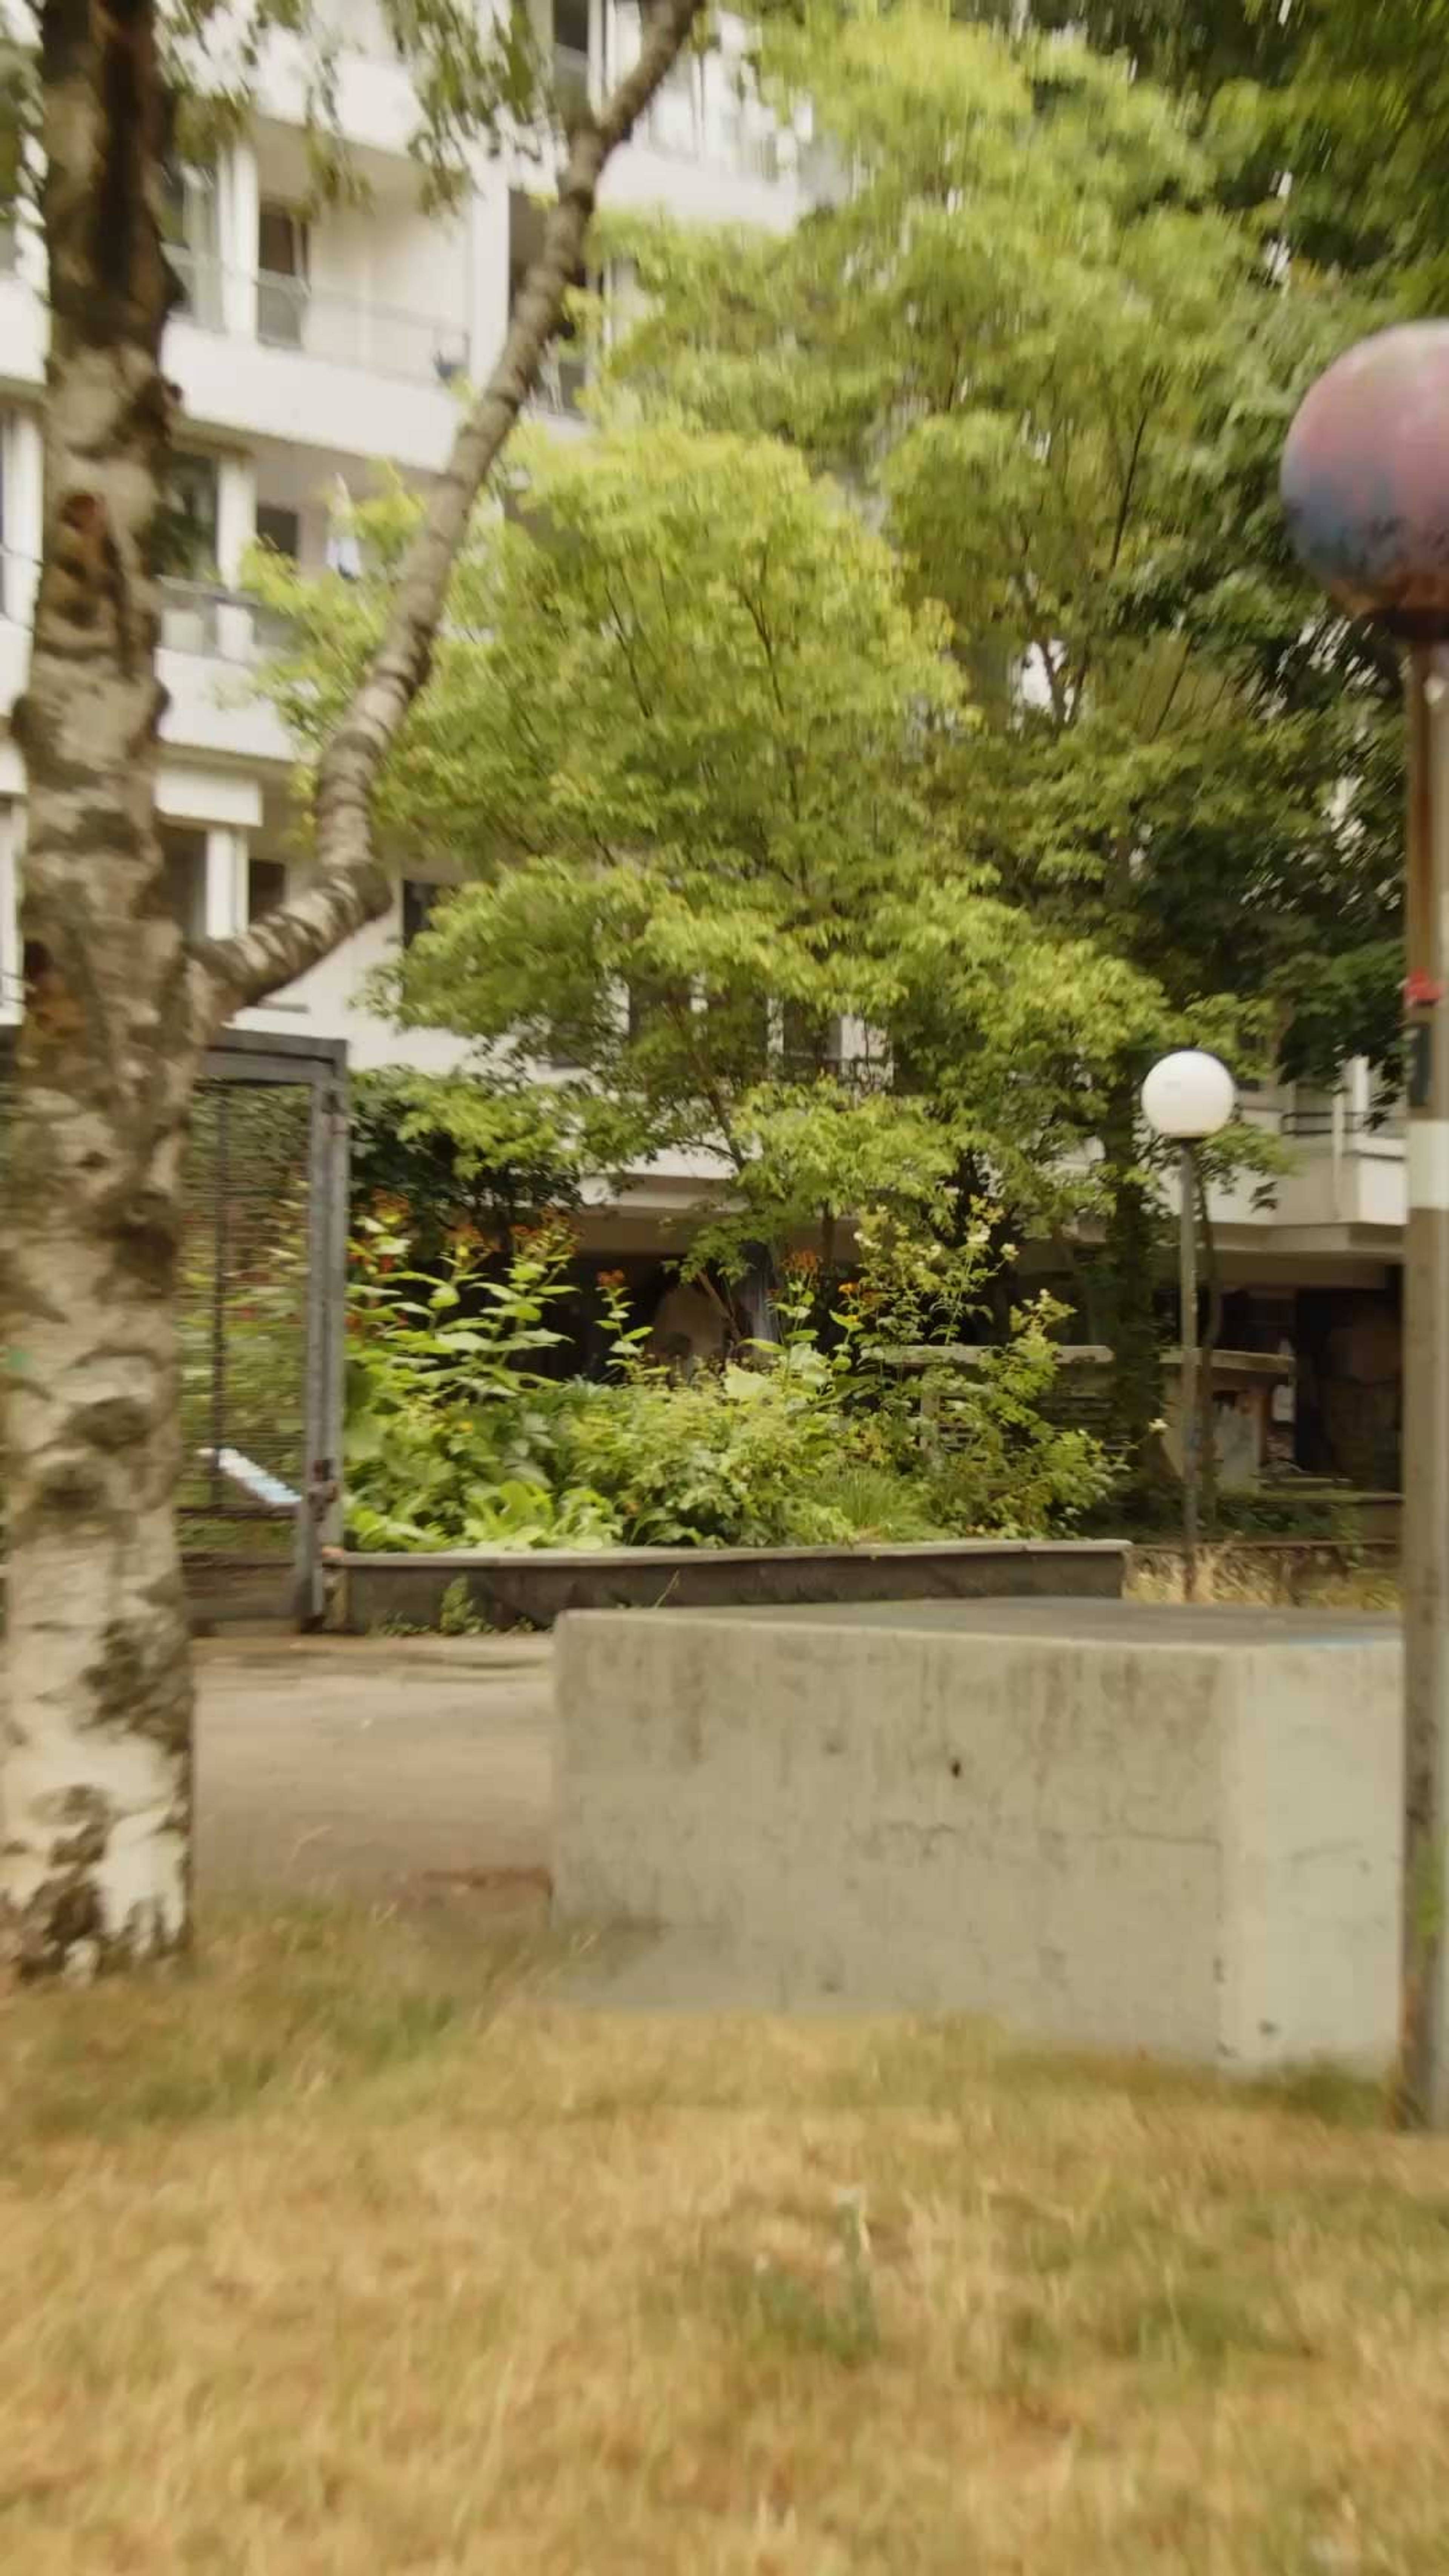
Find a site that is suitable for planting. Whether you’re planting in your own garden, in window boxes, the schoolyard or in a public space – the top 15 cm of soil should be loose and free of stones or large roots. Measure the area and determine the pH level. You can do this using a pH meter from a DIY store or one bought online.
Create your planting scheme on pollinator.art. You can adjust the area by using the cursor to delete any squares you wish to leave empty. You can then specify the site conditions for your area and choose its pattern.
Click on ‘Create my garden’. You can then view your DIY Edition digitally and see what it looks like throughout the different seasons and from a pollinator’s perspective. Click on ‘Planting guide’ to receive a PDF containing your planting scheme, plant list and planting guide.
The plant list in your PDF sets out exactly which plants you need to buy and in what quantities. The easiest way is to send the whole list to a nursery near you and order all the plants there. However, you can also buy the plants individually from a DIY store or order them online. Some plants may not be available at the moment – a nursery can suggest alternative plants with similar characteristics. Decide on a delivery date or a date when you will collect the plants. You should plant them in the ground 1–2 days after they arrive.
Remove stones, rubbish, grass and weeds – including their roots – from your bed and dig over the soil. You can buy peat-free compost from a DIY store and mix it in – the amount per square metre is stated on the compost bags. Collect enough small sticks to place one in the ground every 50cm around the edges of your area. Stretch a string from stake to stake to form a grid. The squares in the grid correspond to the squares in your planting plan.
Imagine your planting plan is like paint-by-numbers, but with plants. In each square of your planting plan there is a number (or a number and a letter) that corresponds to a plant on your plant list (ID). Take your planting plan and your plant list from the PDF and first work out which side of your bed square A0 is on. Starting from A0, place the plants specified for each square of your bed in that square, as shown on the plant list. The planting density indicates how many of these plants should be planted in each square. Once you’ve laid out all the plants, you can plant them in the soil. Dig a hole the same size as the pot the plant is in. Pour a cup of water into the hole. Gently tap the plant out of the pot. If the roots feel tight, gently loosen them with your fingers. Then place the plant in the hole and fill it in with soil so that the entire root system is covered.
For the first three weeks after planting, you should water your bed every day. After that, depending on the weather, you can reduce this to two or three times a week. Weeds should be removed every one to two weeks. Leave the plants in place over winter, as they provide shelter for pollinators in the cold. In February, you can prune them back and spread the cuttings over the bed as fertiliser.
Explore Pollinator Pathmaker, the living artwork and participatory project by Alexandra Daisy Ginsberg.
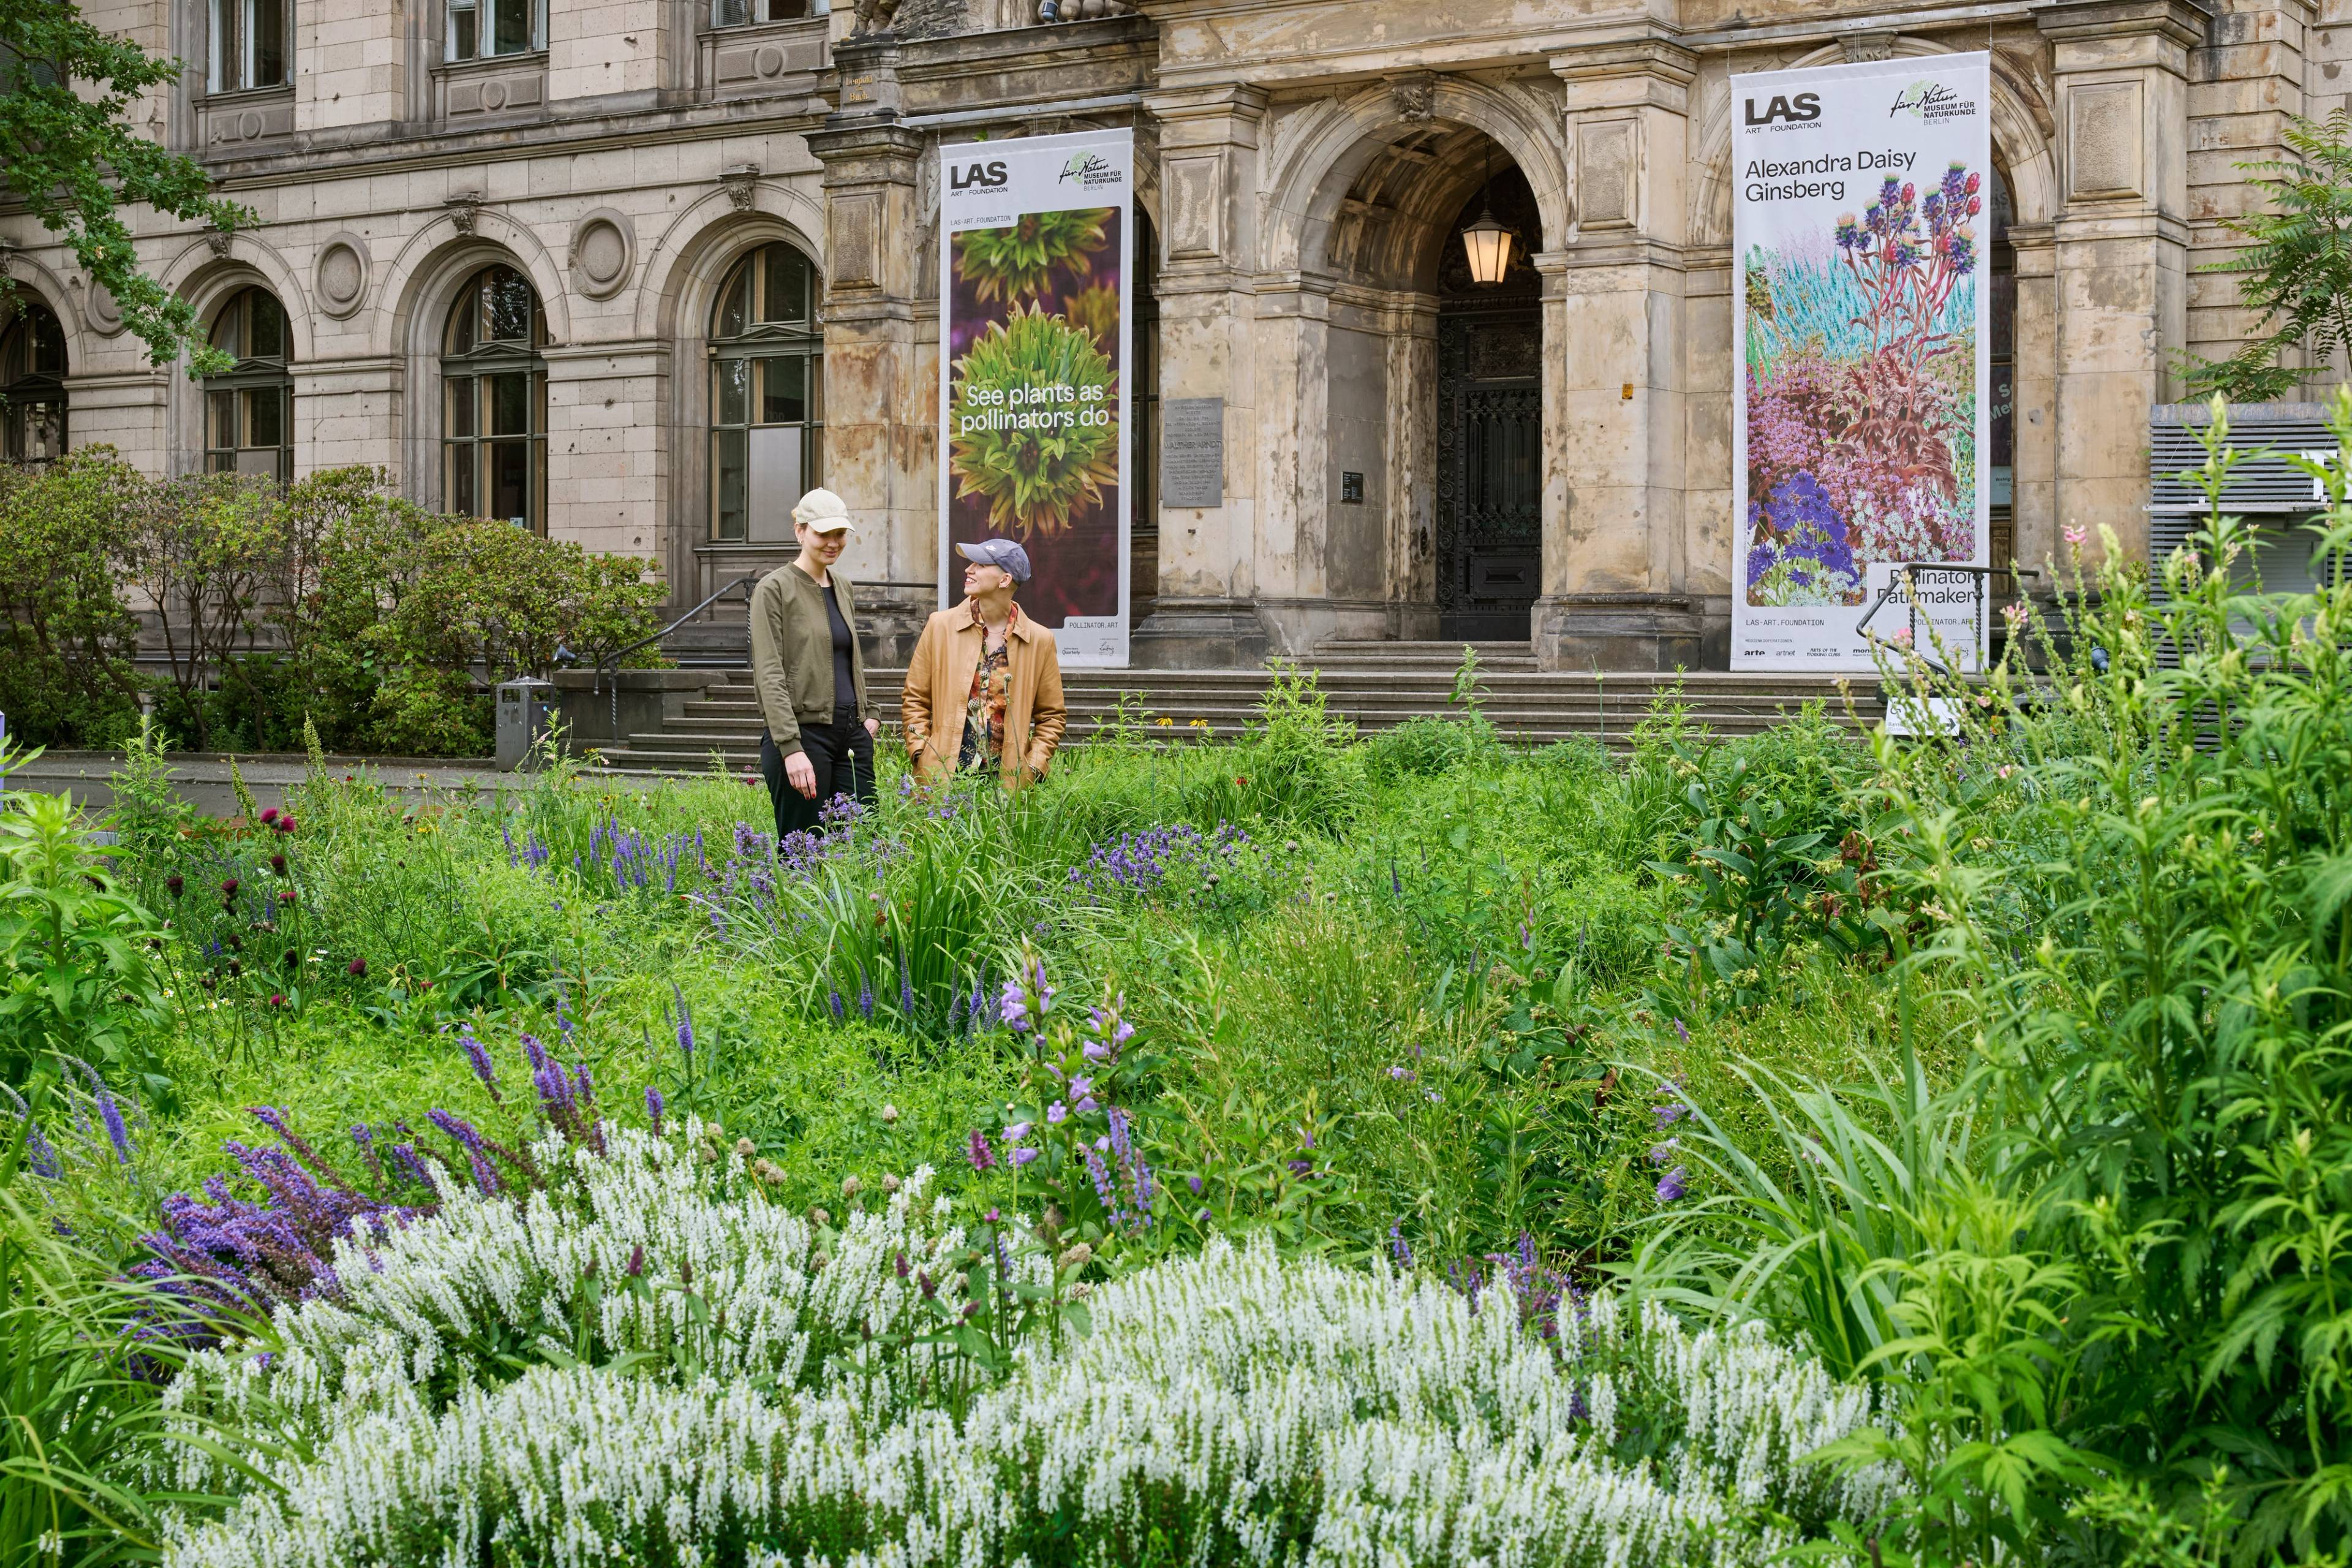
Discover the artwork, its concept and the story behind Pollinator Pathmaker.
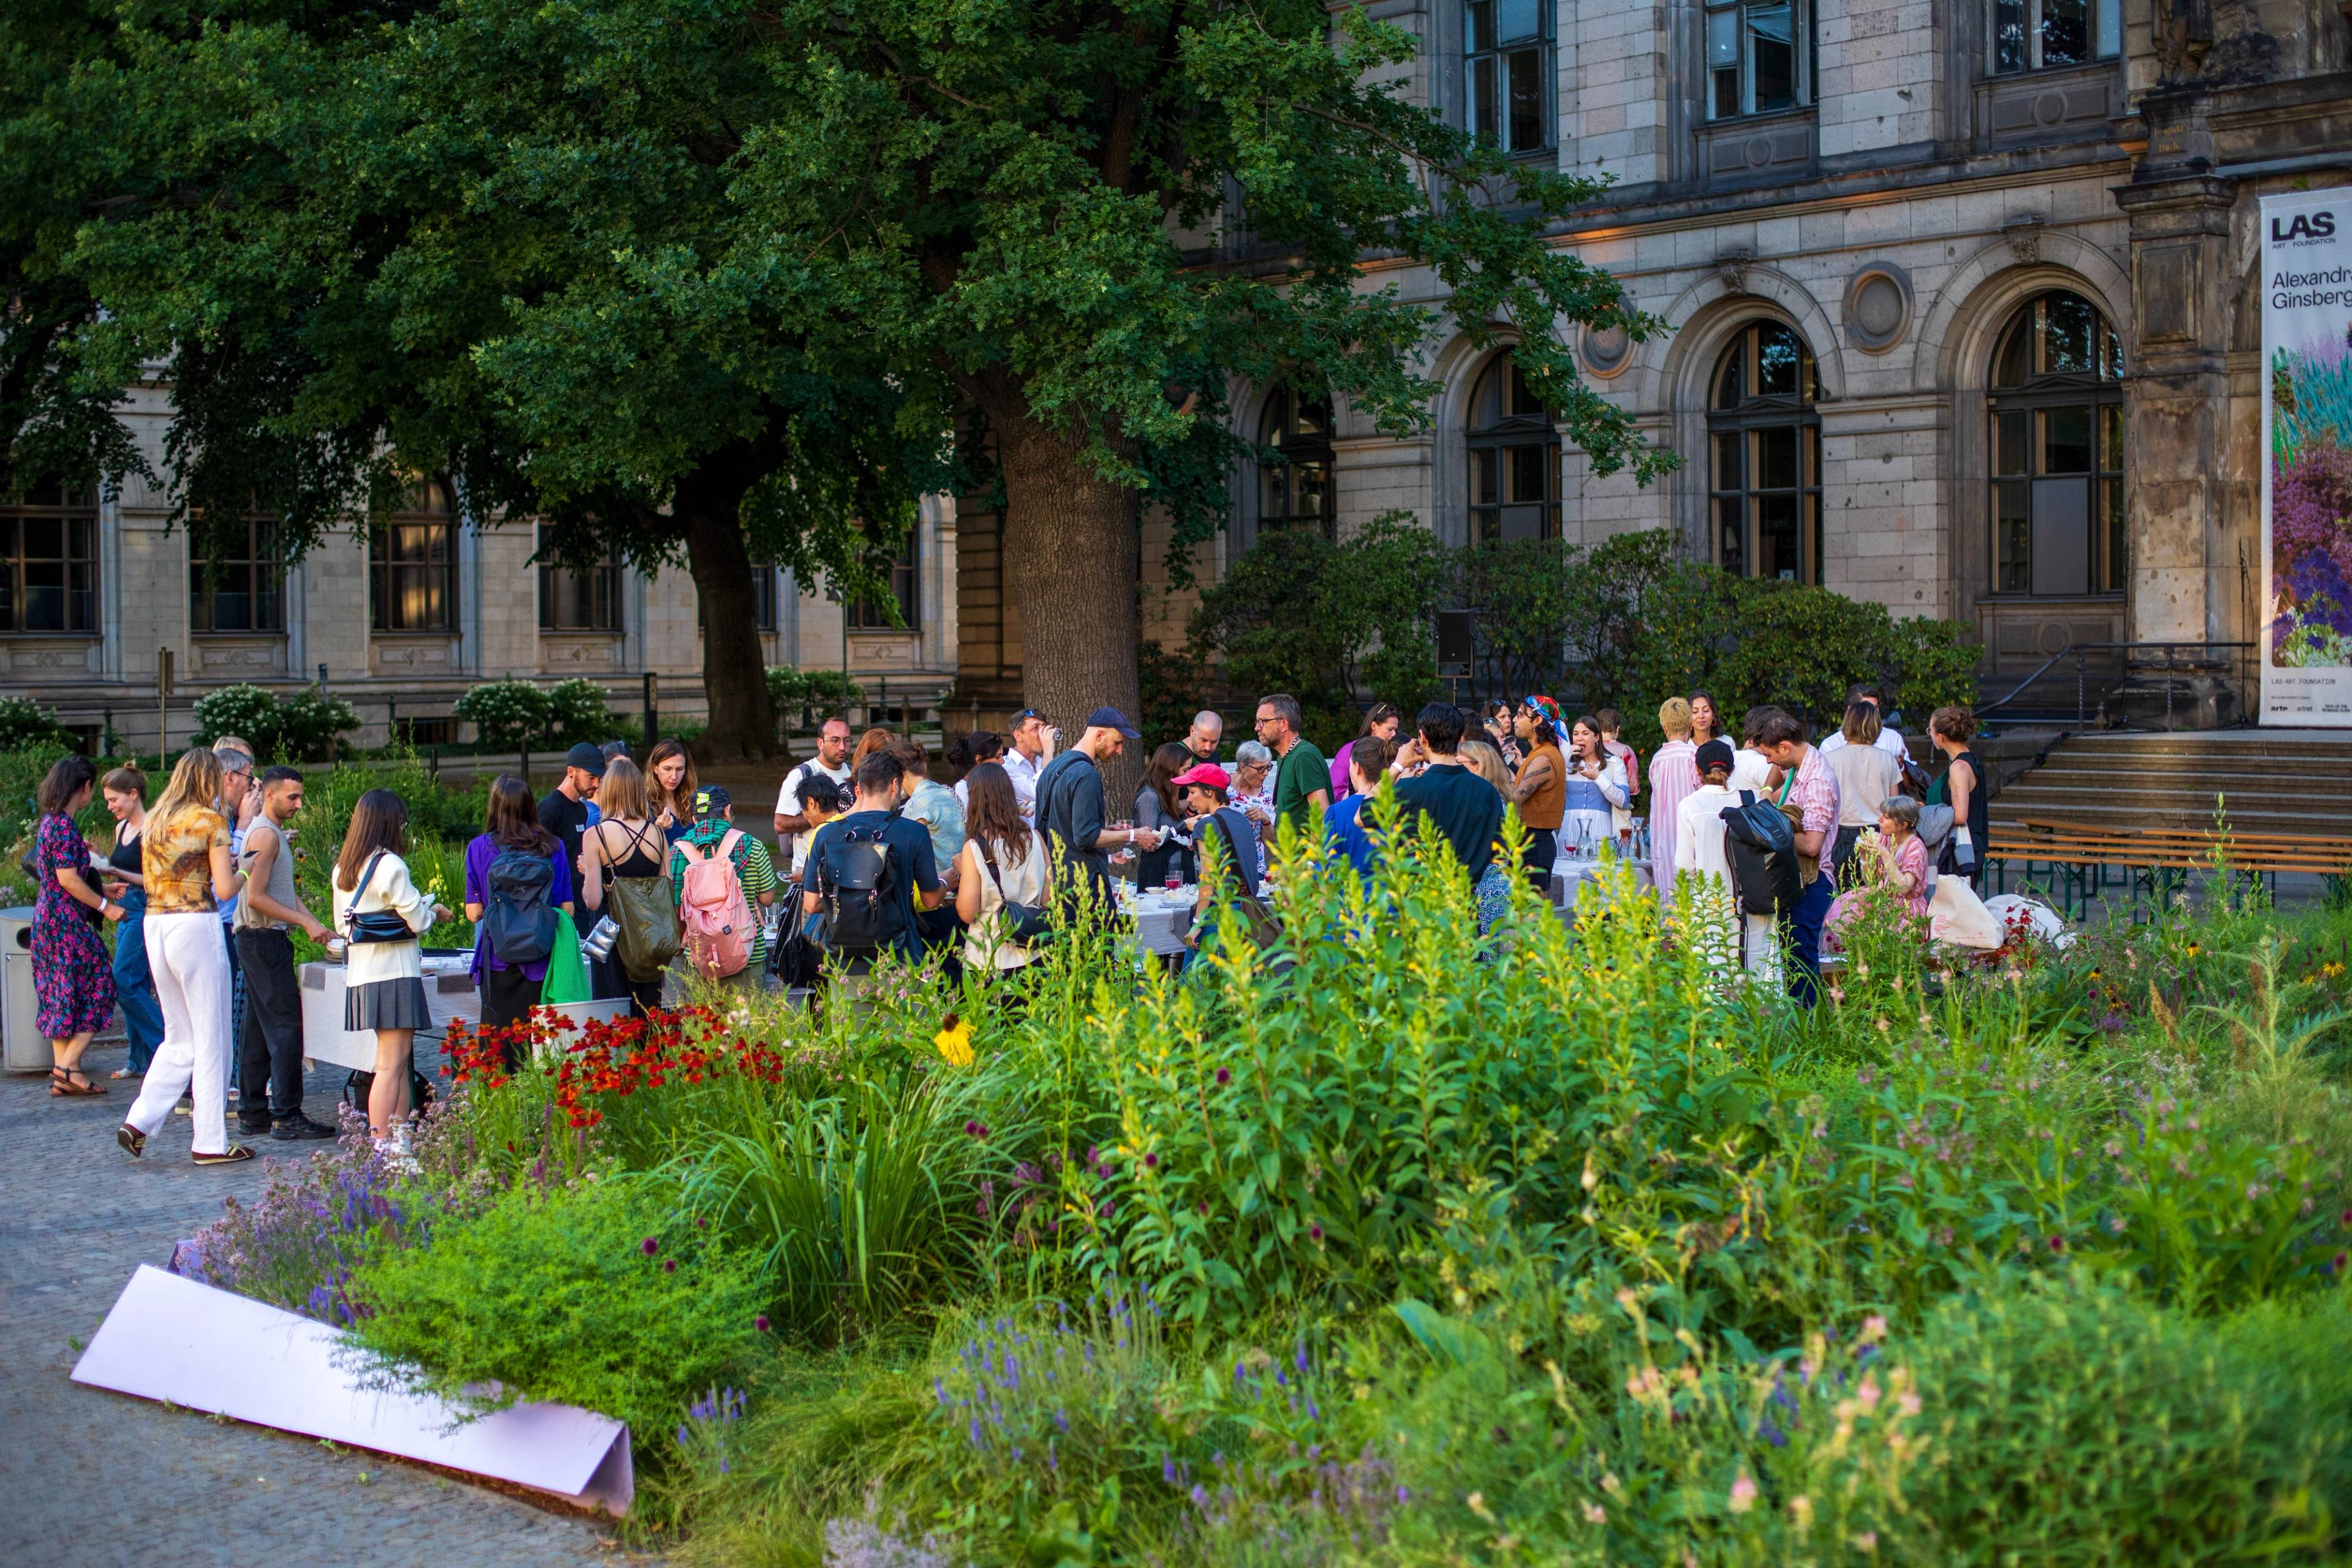
Explore a late summer gathering with live sound, workshops and a curatorial tour.